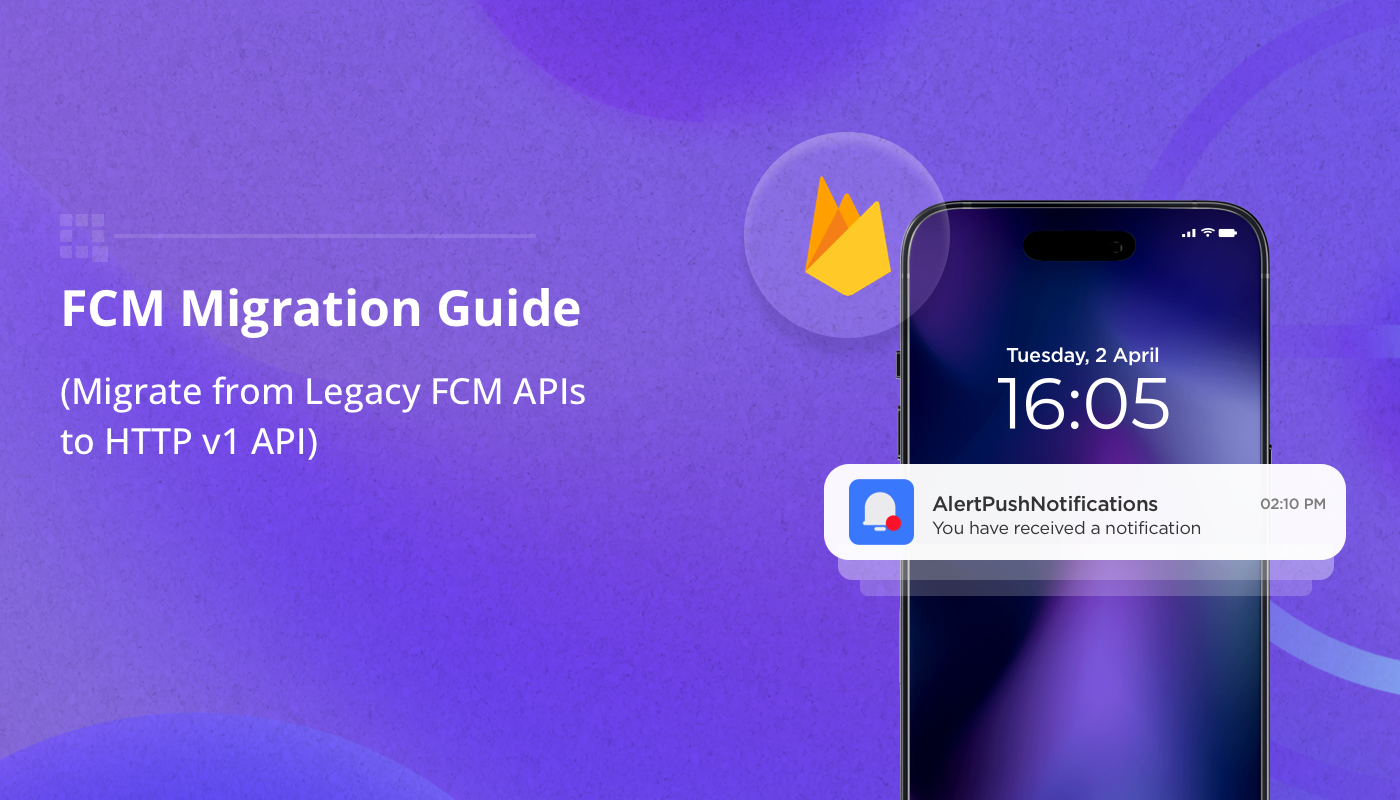
Migrating from Firebase Cloud Messaging (FCM) legacy APIs to HTTP v1 is an important step to enhance security, leverage advanced messaging features, and future-proof your application. The HTTP v1 API integrates OAuth 2.0 authentication, providing a more secure and scalable solution for handling notifications.
Why Migrate to HTTP v1?
- OAuth 2.0 Security: HTTP v1 uses OAuth 2.0 tokens instead of server keys, ensuring better security.
- Advanced Features: Allows for more complex notification payloads, data messaging, and advanced routing.
- Deprecation: Google is phasing out legacy APIs, making this migration essential for continued support and updates.
Step-by-Step Migration Process
1. Firebase Setup
To get started, ensure that your project is configured with Firebase:
- Create or select an existing Firebase project.
- Add Firebase Cloud Messaging (FCM) to your app by downloading the appropriate configuration file (
google-services.jsonfor Android orGoogleService-Info.plistfor iOS) and integrating it into your project.
2. Get a Service Account Key
HTTP v1 requires OAuth authentication. Follow these steps to generate a service account key:
- Go to your Firebase Console → Project Settings → Service Accounts.
- Create a new service account and download the key as a JSON file.
3. Set Up OAuth 2.0 Authentication
Install the Google Auth library to generate OAuth tokens:
npm install google-auth-library
Use the service account key to obtain an OAuth access token:
const { GoogleAuth } = require('google-auth-library');
const auth = new GoogleAuth({
  keyFile: 'path-to-service-account.json',
  scopes: 'https://www.googleapis.com/auth/firebase.messaging',
});
This will generate an access token that can be used to authenticate requests to the FCM HTTP v1 API.
4. Send FCM Notifications Using HTTP v1
Once authenticated, you can send notifications by making an HTTP POST request to FCM’s HTTP v1 endpoint:
import 'dart:convert';
import 'package:http/http.dart' as http;

Future<void> sendNotification() async {
  final url = 'https://fcm.googleapis.com/v1/projects/{PROJECT_ID}/messages:send';
  final headers = {
    'Authorization': 'Bearer YOUR_ACCESS_TOKEN',
    'Content-Type': 'application/json',
  };
  final body = {
    'message': {
      'token': 'DEVICE_FCM_TOKEN',
      'notification': {
        'title': 'Notification Title',
        'body': 'Notification Body',
      },
    }
  };

  final response = await http.post(
    Uri.parse(url),
    headers: headers,
    body: jsonEncode(body),
  );

  if (response.statusCode == 200) {
    print('Notification sent successfully');
  } else {
    print('Failed to send notification: ${response.body}');
  }
}
- Replace
{PROJECT_ID}with your actual Firebase project ID. - Use the generated OAuth token for authorization.
5. Migrating Existing Code
If your app uses the legacy FCM API, update your server-side logic to use the new HTTP v1 API:
- Replace API keys with OAuth tokens for authentication.
- Update the payload format to match the HTTP v1 structure, which includes
messageas the root element for notifications.
6. Testing
After implementing the HTTP v1 API, thoroughly test your app:
- Use Firebase Console to send test notifications.
- Validate that notifications are received on the target devices.
- Check your server logs to confirm successful API responses.
Additional Considerations
Token Management
Ensure that your app handles FCM tokens appropriately:
- Use the
onTokenRefresh()method to listen for changes in the device token. - Update your server with the new token when it changes.
Error Handling
With the HTTP v1 API, you may encounter error responses from FCM, such as expired tokens or unauthorized access. Ensure that your app gracefully handles such errors and retries sending notifications if necessary.
Conclusion
Migrating from the legacy FCM APIs to HTTP v1 provides better security, more powerful messaging capabilities, and prepares your app for the future. By following this step-by-step guide, you can ensure a smooth migration and continue sending notifications without interruption.