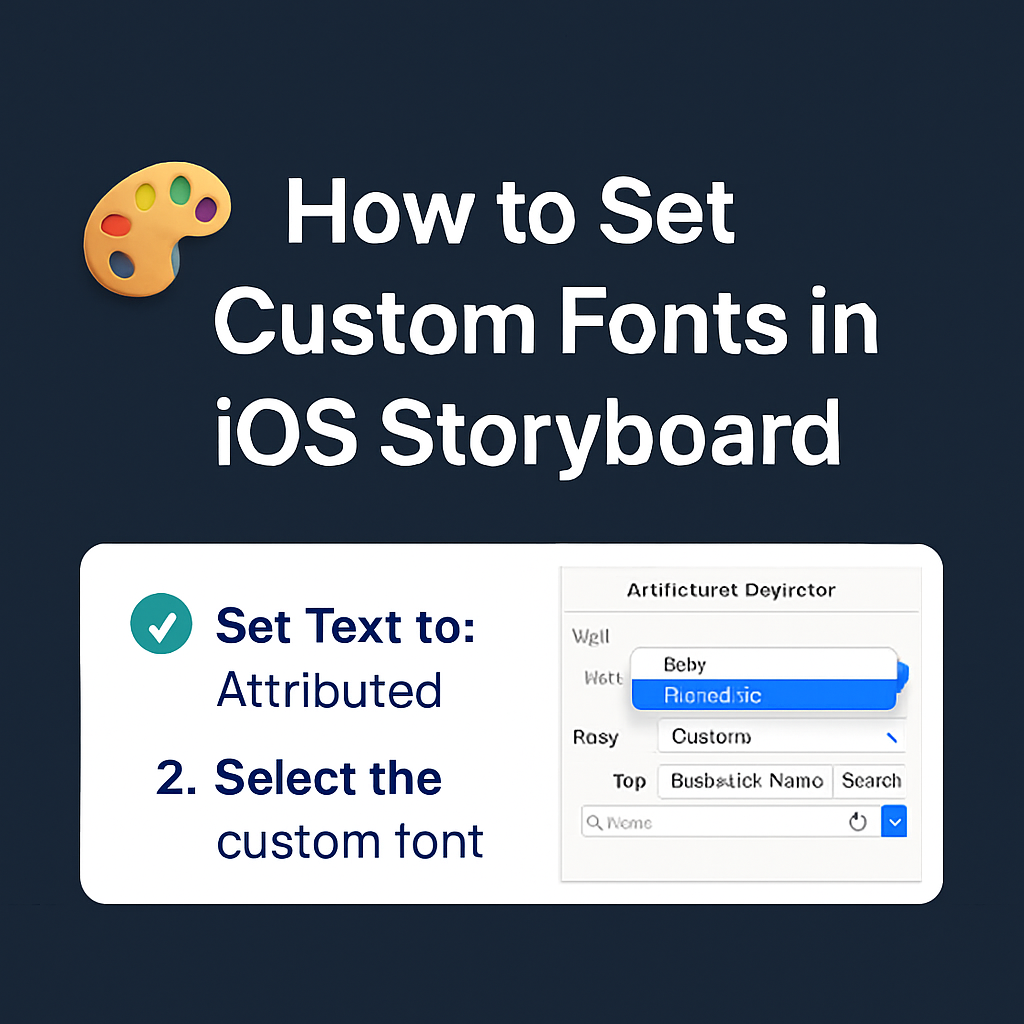
How to Set Custom Fonts in iOS Storyboard (UIKit)
Using custom fonts is a great way to give your iOS app a unique brand identity and a polished visual design. But if you’ve tried applying custom fonts to labels or buttons directly via Storyboard, you may have noticed — they don’t always show up as expected.
In this quick guide, we’ll show you how to properly set custom fonts in Storyboard and explain the key issue that trips most developers up.
⚠️ The Problem: Custom Font Not Showing in Storyboard
You’ve added your .ttf or .otf file to the project, updated the Info.plist, and selected your custom font in the storyboard’s font picker…
But on running the app, your UILabel or UIButton still uses the default font.
Why?
Because the font won’t render unless the text field is set to “Attributed” instead of “Plain” in Interface Builder.
✅ The Solution: Use Attributed Text in Interface Builder
Follow these steps:
1. ✅ Add the Custom Font to Your Project
-
Drag your
.ttfor.otffont file into Xcode (ensure “Copy items if needed” is checked). -
Add the font name under
Fonts provided by applicationin Info.plist.
Example:
2. Set the UILabel or UIButton Text to “Attributed”
-
Select the label or button in your storyboard.
-
In the Attributes Inspector, change Text from Plain to Attributed.
-
Re-select the font from the font picker — your custom font should now appear and apply correctly.
3. (Optional) Switch Back to Plain
-
Once the font is applied, you can change the text type back to “Plain”. The custom font will persist in most cases.
Bonus Tip: Use Interface Builder or Code
To set the font in code:
Make sure the font name matches exactly what’s in the font file (you can find it by opening the font in Font Book or running this in the debugger):
Why This Happens
Storyboard UI elements like UILabels and UIButtons don’t apply custom fonts correctly when using Plain Text, because the font rendering engine skips unregistered fonts unless they’re treated as attributed.
✅ Final Checklist
| ✅ Task | Details |
|---|---|
| Add font file | Drag into Xcode project |
| Update Info.plist | Add font to UIAppFonts |
| Set to Attributed | In storyboard inspector |
| Apply font | Select from the font picker |
| Test | Run on device/simulator |
✍️ Conclusion
Custom fonts add personality and professionalism to your app’s UI — but if they aren’t displaying in Storyboard, switching the text to Attributed is the key. This simple change can save hours of debugging and make your interface match your design vision.
Happy theming!


