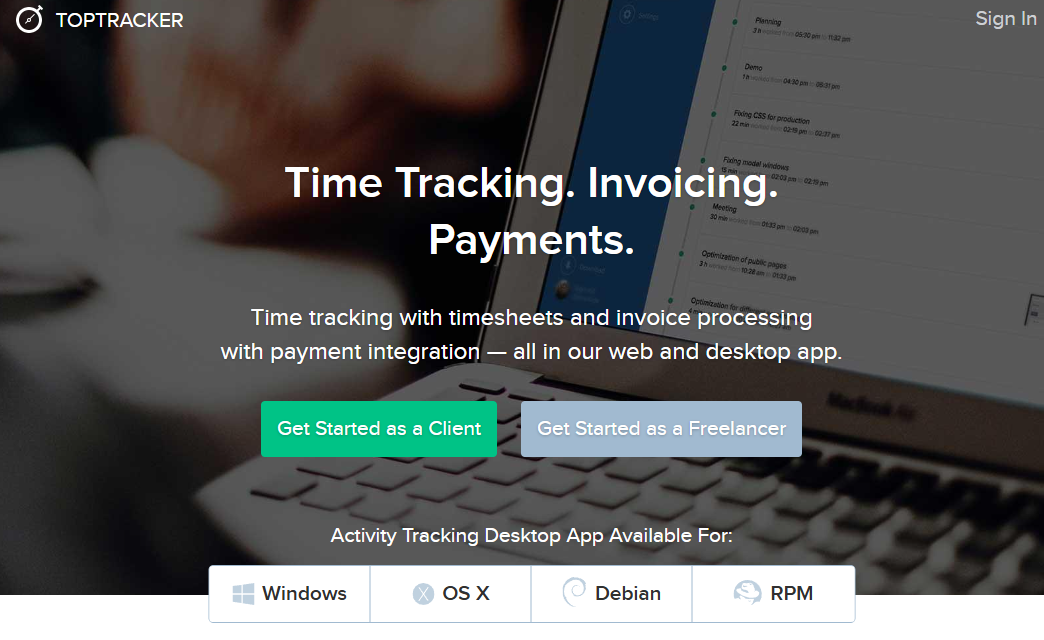
Tracking work efficiently is essential for remote collaboration. This guide will walk you through the step-by-step process to set up and start using TopTracker for the WFH_2.0 project.
Step 1: Open the Invitation Email
- Check your email inbox for an invitation from TopTracker (make sure to check the spam/junk folder if it’s not in the primary inbox).
- Look for a subject line like: “You’ve been invited to join WFH_2.0 on TopTracker”.
- Open the email and review the details.
Step 2: Accept the Invitation
- Inside the email, click on the “Accept Invitation” or “Join Project” button/link.
- You will be redirected to the TopTracker website.
Step 3: Sign Up / Log In to TopTracker
- If you already have a TopTracker account:
- Log in using your registered email and password.
- If you don’t have an account:
- Click on the “Sign Up” or “Create Account” option.
- Enter your details:
- Name
- Office email address
- Password
- Verify your email address if prompted.
Step 4: Access the Project
- Once logged in, you’ll be redirected to the Project Dashboard for WFH_2.0.
- If you aren’t automatically redirected:
- Navigate to the Projects section in TopTracker.
- Find the invitation for WFH_2.0 and join the project manually.
Step 5: Set Up the Tracker
- Download and install the TopTracker Desktop App from the official TopTracker website, if not already installed.

- Open the app and log in using your TopTracker credentials.
Note for Mac Users:
- Grant permissions to the TopTracker app to enable it to take screenshots and track activity.
- Go to System Preferences > Security & Privacy > Privacy > Screen Recording and add TopTracker to the allowed apps if it’s not listed; Click the + button to add TopTracker manually.
- Go to System Preferences > Security & Privacy > Privacy > Accessibility and add TopTracker to the allowed apps.
- You may need to restart the app for the changes to take effect.
Step 6: Start Tracking Work
- In the TopTracker desktop app, select the WFH_2.0 project from the list of available projects.
- Begin tracking work:
- Click the Start Tracking button when you start working.
- Make sure to choose the correct project and task (if tasks are predefined).
- Pause or stop tracking when you take breaks or finish working.
Important Notes
- Do Not Modify Default Settings:
TopTracker is configured with default settings to ensure accurate tracking. Avoid tweaking any of these settings. - Screenshot Functionality:
- TopTracker automatically captures random screenshots every 10 minutes.
- This means there will be approximately 6 screenshots per hour.
- Do not cancel or delete screenshots, as they are essential for accurate work monitoring.
- Screenshot Visibility:
Ensure that your screen’s content is clearly visible in the captured screenshots. Blurred or cropped images may cause issues during project reviews.
By following these steps, you’ll set up and use TopTracker effectively for the WFH_2.0 project. This tool helps you track your work, maintain transparency, and improve productivity seamlessly.


