In the modern web application landscape, offering users the ability to log in using their preferred methods is a critical aspect of user experience. Apple Login, particularly in apps targeting iOS users, is a popular choice. In this blog post, we’ll walk through the steps to implement Apple Login in a Next.js 14 application using OAuth
App Setup: Create an app with Next.js by selecting your preferred template during setup and adding any extra features you’d like (such as TypeScript, ESLint, or Prettier).

Install next-Auth: Next step is to install next-auth in the project

Configure NextAuth.js for Apple Login: Open the [...nextauth].ts file and set up the Apple provider

Next, we need to add environment variables to the app. Create a .env.local file in the root of your project, and for now, just add these variables, leaving them empty. We’ll generate their values shortly.

Creating our APPLE_CLIENT_ID and APPLE_CLIENT_SECRET:
Now we need to fill the .env file for which we need create the APPLE_CLIENT_ID and APPLE_CLIENT_SECRET.
The first thing we have to do is sign up for an apple developer account if you don’t have one already and join the Apple Developer Program(it costs around $99/yr).
1) Log in to Apple Developer Account: Go to the Apple Developer portal and log in.
2) Create a New App ID: Navigate to “Certificates, Identifiers & Profiles”.
Under Identifiers, create a new App ID and configure it for Sign In with Apple.
3) Create a Service ID: In the Identifiers section, create a Service ID, which will be used as the client ID in your OAuth flow.
4) Configure the Service ID: Enable “Sign In with Apple”.
Add a redirect URL that points back to your Next.js app (e.g., https://your-domain.com/api/auth/callback/apple).
( Enable sign in with apple.Click configure and the add the Register Website URLs in the domains add your domain name it should be only domain name without any protocols for now add the domain name as your-domain.com (it should be like this your-domain.com not this h̵t̵t̵p̵s̵:̵/̵/̵your-domain.̵c̵o̵m̵) and add the return back url as https://your-domain.com/api/auth/callback/apple )
5) Generate a Key for Sign In with Apple: Go to Keys, create a new Key, and select the “Sign In with Apple” option.Download the key file (.p8) and note down the Key ID.
6) Note Down the Required Details: Keep track of the following: Client ID (Service ID), Team ID, Key ID, and the downloaded .p8 file.
Generating a secret: Apple requires the client secret to be a JWT. To generate one, you can use the following script: https://bal.so/apple-gen-secret
For more information, see the Apple docs
Update Environment Variables :

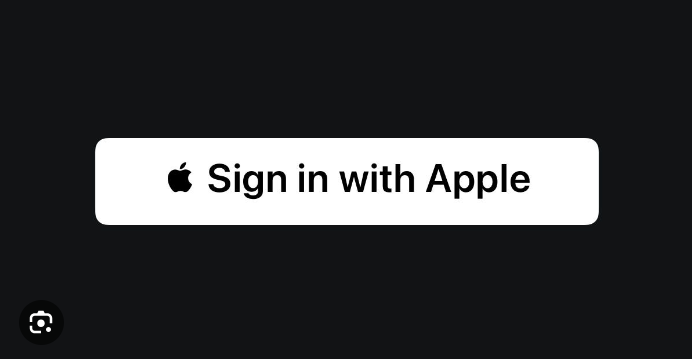
Setting Up Frontend Integration: In your frontend components, add a button to trigger the Apple login

After successful verification from Apple and redirection back to our application, a callback function is triggered. In the sign-in process, we can conditionally identify the login type and call the backend API to update the database. Upon receiving a successful response from the backend, the Next.js session data will be updated.

Errors:
You can read more about the errors here https://next-auth.js.org/errors
If you’re encountering the error { name: 'OAuthCallbackError', code: undefined, providerId: 'apple', message: 'PKCE code_verifier cookie was missing.' }, check your configuration and follow this snippet.

Deploy the code to your vercel by running vercel --prod and you good to go to use apple sign in in your website
Conclusion:
You’ve successfully integrated Apple Login into your Next.js 14 application using OAuth. This setup ensures a seamless login experience for users, particularly those on Apple devices, enhancing your app’s user experience.
Remember to handle edge cases like error states and token refreshing as you move towards production